Preparing files for 3D house floor plan rendering means submitting scaled, dimensioned CAD drawings, high-resolution PDFs, or clearly labeled hand sketches so a rendering studio can build an accurate digital model. The clearer and more complete your source file, the faster and more precise the final 3D floor plan render will be. Builders, architects, and real estate marketers often lose days going back and forth over missing measurements or unclear room labels, and that delay is almost always avoidable.

This guide breaks down exactly what a rendering studio needs from you, how to prepare each file type correctly, and which mistakes cause the most rework. Whether you’re submitting a full CAD package or a rough napkin sketch, understanding 3D house floor plan rendering services from the file-prep stage onward will save you time, money, and revision cycles later in the project.
Why File Preparation Is the Foundation of Accurate 3D Floor Plan Rendering
Every 3D floor plan render starts as raw data. A rendering artist cannot guess wall thickness, ceiling height, or window placement – they need that information supplied clearly, or they must make assumptions that lead to costly revisions.
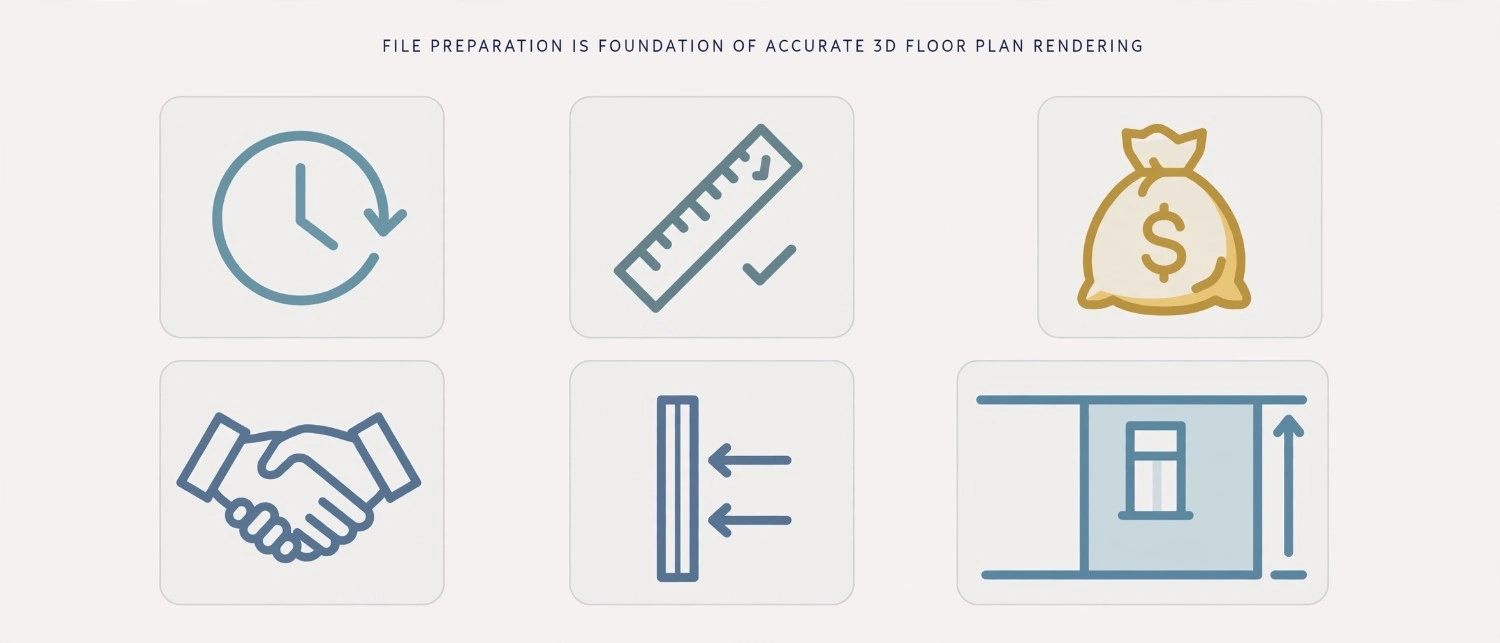
Consequently, the quality of your submitted files directly determines:
1. Turnaround time
Incomplete files trigger clarification emails and delay production.
2. Accuracy
Missing dimensions force artists to estimate scale, which can distort proportions.
3. Cost
Excessive back-and-forth or file cleanup work is often billed as additional revision time.
4. Client trust
A clean, well-labeled submission signals professionalism when the render is shared with buyers or investors.
If you’re new to the process, it helps to first understand what 3D floor plan rendering actually involves before diving into file specifications, since the rendering method chosen (2D top-down, 3D isometric, or fully furnished) affects which details matter most in your source file.
What File Formats Are Accepted for 3D Floor Plan Rendering?
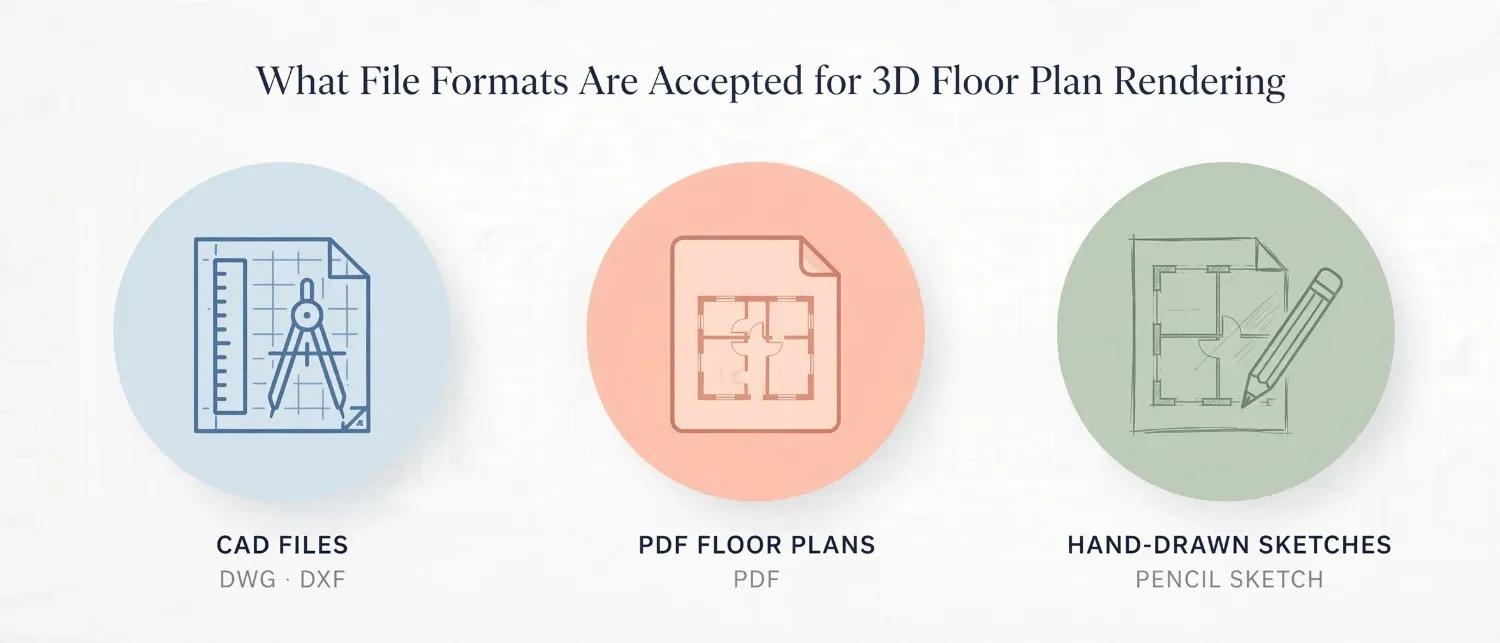
Most studios, including ours, accept three primary categories of source material: CAD files, PDF plans, and hand-drawn or digital sketches. Each has different strengths, and understanding them helps you choose the right starting point.
Quick Answer: Best File Format for 3D Floor Plan Rendering
If you have access to it, a CAD file (DWG or DXF) is the best format for 3D floor plan rendering because it contains precise vector data, exact measurements, and layer information that speeds up modeling. PDFs are the second-best option when scaled correctly, and sketches work as a starting point but require additional clarification.
| File Type | Accuracy Level | Typical Turnaround Impact | Best Used When |
|---|---|---|---|
| CAD (DWG/DXF) | Highest | Fastest | Architect or drafter already has a digital plan |
| PDF (scaled) | High | Moderate | Plans exist only as exported or scanned documents |
| Sketch (hand or digital) | Moderate | Slower, needs verification calls | Early concept stage, no formal plan yet |
| Site Photos + Measurements | Low-Moderate | Slowest | Renovation projects with no existing plan |
How to Prepare CAD Files for 3D Floor Plan Rendering
CAD files are the gold standard because they carry exact geometry. Even so, raw architectural CAD files often contain excess data that isn’t relevant to rendering, so a bit of cleanup goes a long way.
Step-by-Step: Preparing a CAD File
Step 1: Export in a universal format.
Save or export your file as DWG or DXF, both widely supported open exchange formats as outlined in Autodesk’s DXF reference documentation, rather than a proprietary format tied to one software license.
Step 2: Flatten unnecessary layers.
Remove dimension lines, construction notes, and title blocks that aren’t needed for the render, or place them on a separate layer the studio can toggle off.
Step 3: Confirm the scale.
State the drawing scale explicitly (for example, 1:100) in the file name or an accompanying note.
Step 4: Label rooms clearly.
Ensure room names (bedroom, kitchen, en-suite) are legible text elements, not just abbreviations only you understand.
Step 5: Include ceiling heights and structural notes.
If any rooms have vaulted ceilings, mezzanines, or split levels, flag them separately since these details are easy to miss in a flat 2D file.
Step 6: Bundle reference photos.
If the file represents an existing structure, attach a handful of site photos so the artist can match material tones and finishes.
Common CAD Submission Mistakes
- Sending a file locked to a CAD viewer that strips layer data on export.
- Omitting furniture layout when a furnished render is expected.
- Forgetting to note north orientation, which affects how natural lighting is rendered in exterior-adjacent views.
How to Prepare PDF Files for 3D Floor Plan Rendering
PDFs are the most common submission format because nearly every architect, builder, and MLS listing generates one. However, not all PDFs are created equal for rendering purposes.
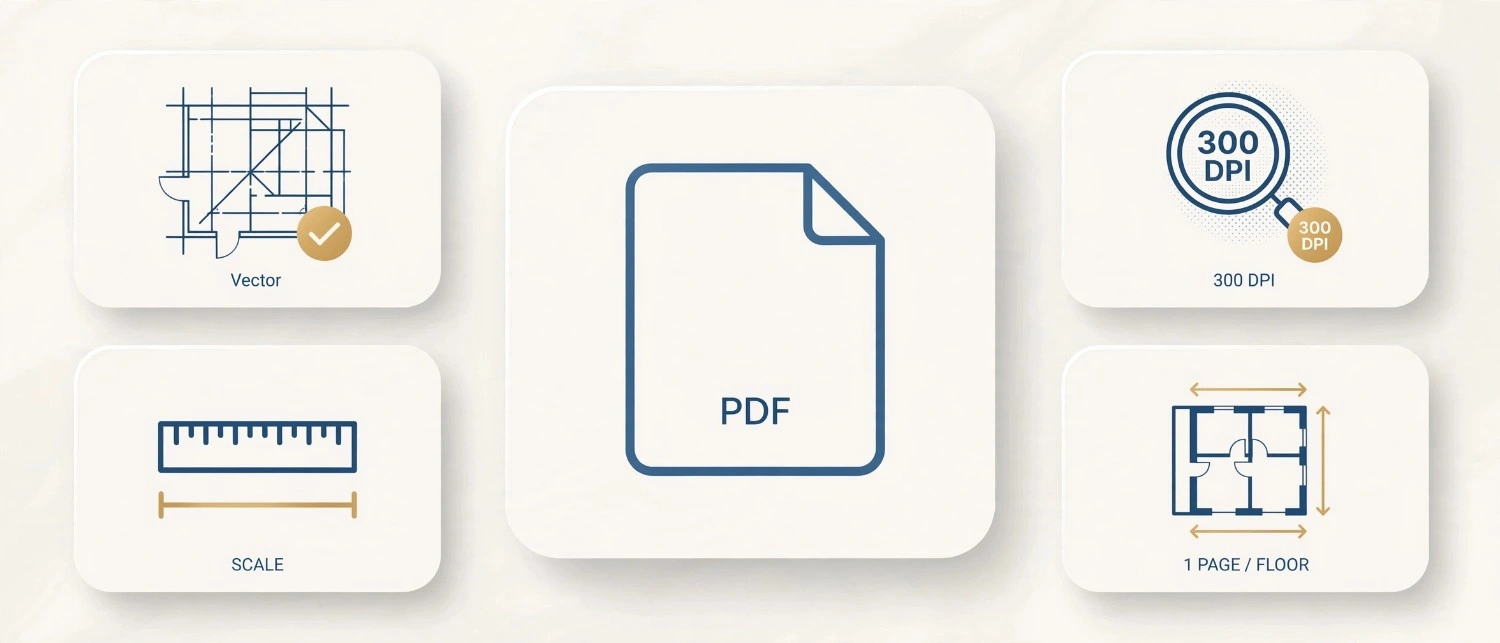
Checklist for a Render-Ready PDF
- Vector-based, not a scanned image. A PDF exported directly from CAD or design software retains crisp lines; a scanned photocopy introduces blur and skew that make measurements unreliable.
- Include a scale bar or stated scale. Without this, the studio has to estimate proportions from door widths or standard fixture sizes, which is not fully reliable.
- High resolution if scanned. If a scan is unavoidable, submit at 300 DPI or higher so text labels remain legible after zooming.
- Single-page-per-floor. Multi-floor PDFs merged into one page can cause confusion about which walls belong to which level.
- Legible dimension strings. Faded or handwritten dimensions on an older PDF should be re-typed in a note if they’re difficult to read.
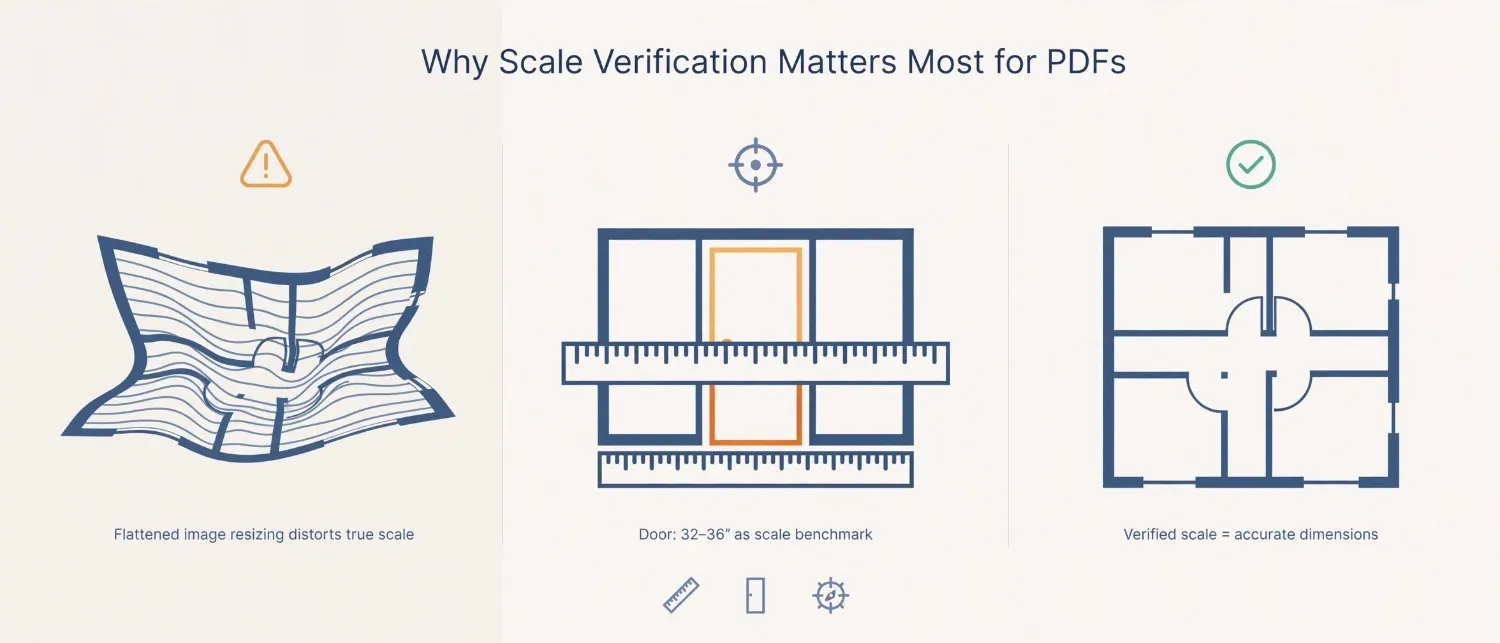
Why Scale Verification Matters Most for PDFs
Because a PDF is essentially a flattened image of the original drawing, any resizing during export, printing, or scanning can distort the true scale. Before submission, measure one known element (a standard door is usually 32-36 inches wide, a benchmark referenced in the International Code Council’s residential code) against the drawing to confirm the scale hasn’t drifted.
How to Prepare Sketch Files for 3D Floor Plan Rendering
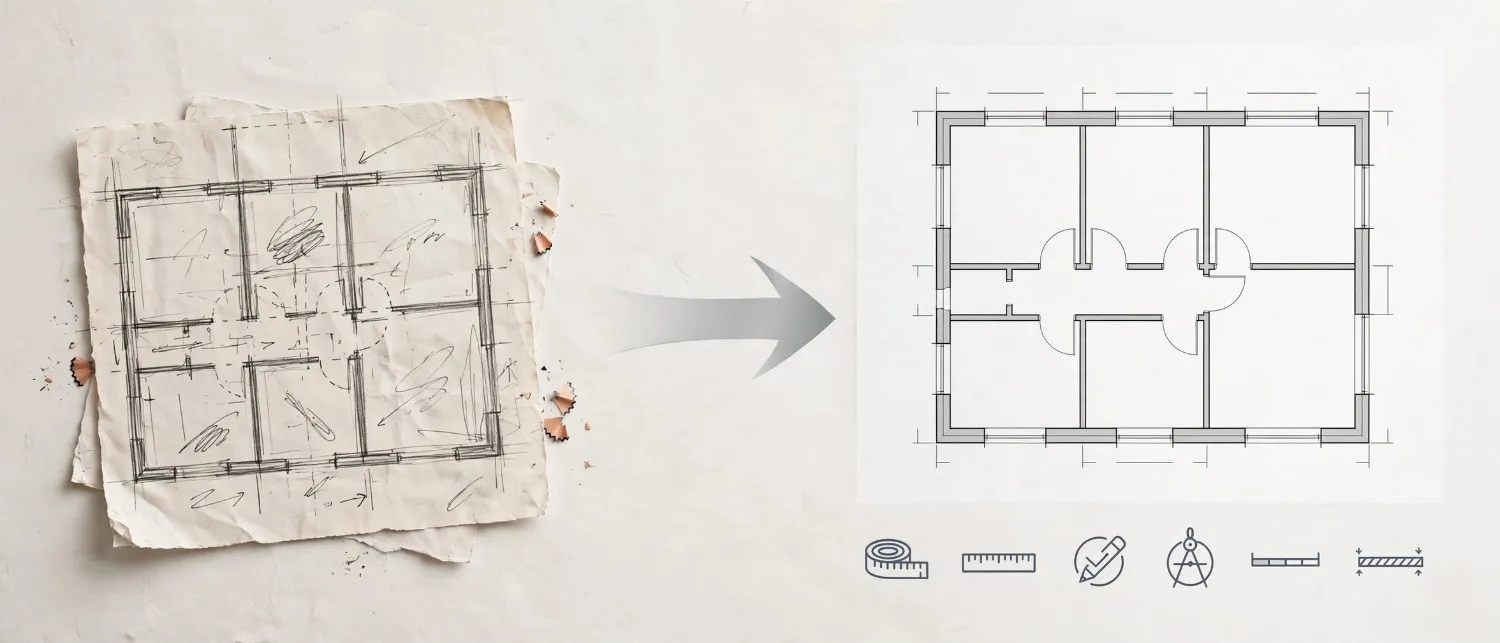
Not every project starts with a formal plan. Real estate agents, small builders, and homeowners frequently begin with a hand sketch, and that’s perfectly workable as long as it’s structured correctly.
Making a Rough Sketch Render-Ready
- Draw to approximate proportion. The sketch doesn’t need to be to scale, but rooms should be roughly proportional to each other so the overall layout reads correctly.
- Write every measurement directly on the wall it belongs to. Don’t rely on memory or a separate note that could get separated from the drawing.
- Label doors and swing direction. Indicate which way each door opens, since this affects furniture placement and walkway clearance in the final render.
- Mark windows and their approximate width. Window placement significantly affects how a rendered room looks from the exterior.
- Note the compass orientation. Even a simple north arrow helps position natural light correctly in exterior-facing renders.
- Photograph the sketch in good lighting. If digitizing later, a flat, well-lit photo or scan avoids shadows that obscure handwriting.
Sketches typically require one short clarification call with the rendering team before production begins, so building in a little schedule buffer is wise.
Comparing CAD, PDF, and Sketch Submissions
| Criteria | CAD | Sketch | |
|---|---|---|---|
| Setup time before rendering | Minimal | Low-Moderate | Moderate-High |
| Risk of scale error | Very low | Low if vector-based | Moderate |
| Ideal for | Architects, drafters | Builders, agents with existing plans | Early-stage concepts |
| Revision likelihood | Low | Low-Moderate | Moderate |
| Additional info usually needed | Furniture layout, finishes | Scale confirmation | Full clarification call |
Industry Applications Where File Prep Accuracy Matters Most

Different industries lean on 3D floor plan renders for different goals, and the file-prep stakes shift accordingly.
Architects rely on precise renders to communicate design intent to clients and contractors before construction begins, which is why architects use 3D floor plan rendering as a core part of the approval process, and clean CAD submissions directly shorten that review cycle.
Custom home builders often submit builder-standard plan sets across multiple lot variations, and consistent file naming and labeling helps custom home builders win clients faster by avoiding mix-ups between similar floor plans.
Real estate marketers typically work under tight listing deadlines, so a well-prepared PDF or CAD file can be the difference between a render delivered same-week versus one that slips past the listing launch, directly affecting how 3D floor plan rendering transforms real estate listing performance. This aligns with findings from the National Association of Realtors on listing visuals, which consistently show that stronger visual presentation correlates with faster buyer engagement.
Hospitality projects, such as boutique hotels, frequently need multiple room-type variations rendered from a single base plan, and clear labeling of which sketch or CAD file maps to which room type prevents costly mix-ups, a lesson explored further in our piece on hotel room and lobby 3D floor plan rendering.
If budget is a factor, it’s worth understanding whether 3D floor plan rendering pricing scales with square footage before finalizing which rooms or floors to submit first, since prioritizing key spaces can help manage cost on larger properties.
Common Mistakes to Avoid When Submitting Files

- Sending outdated plan revisions. Always confirm you’re submitting the final approved version, not an earlier draft.
- Omitting furniture or fixture placement when a furnished render is expected, leading to an empty-feeling result.
- Skipping ceiling height notes on split-level or vaulted spaces.
- Ignoring file naming conventions, which causes confusion when multiple floor plans are submitted together.
- Forgetting to specify render style preferences (2D top-down, 3D isometric, or photorealistic furnished) up front.
- Not flagging exterior wall materials when the floor plan connects to an exterior rendering package.
Expert Tips for a Smooth Rendering Handoff
- Bundle everything in one folder rather than sending files across multiple emails; missing attachments are one of the most common delay causes.
- Include a short brief describing the intended use (marketing brochure, investor presentation, construction reference) so the studio can tailor detail level accordingly.
- Request a draft review stage. Most studios build in one round of revisions – use it to confirm room labels and proportions before final rendering passes are applied.
- Standardize measurement units. Mixing metric and imperial units within one file set is a frequent source of scale errors.
- Keep a master file version so future renovations or additional room renders can reference the same base plan.
How Rendering Studios Actually Use Your Submitted Files
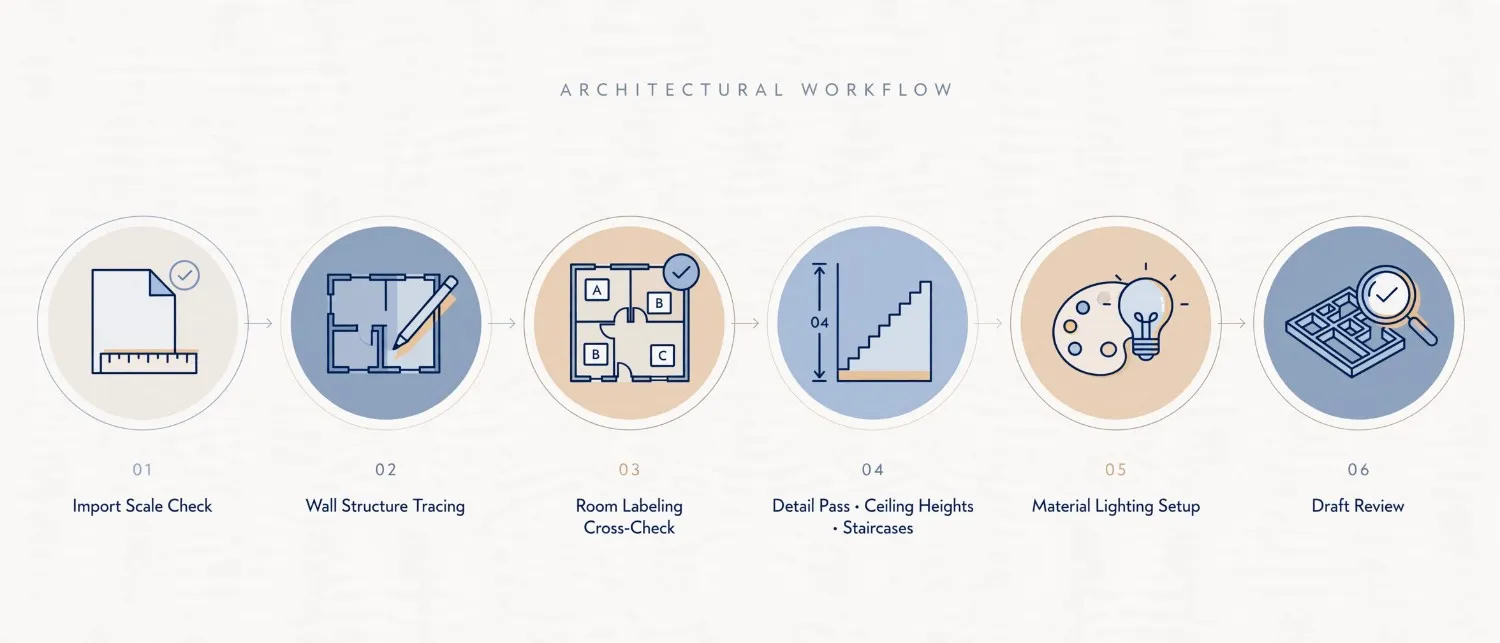
Understanding what happens to your file after you hit “send” makes it easier to see why certain details matter so much. Once a studio receives your CAD file, PDF, or sketch, an artist typically works through a predictable sequence:
- Import and scale check. The file is brought into 3D modeling software, and the first task is confirming the scale matches real-world dimensions.
- Wall and structure tracing. Using the source file as an underlay, the artist traces walls, doors, and windows to build the 3D geometry layer by layer.
- Room labeling cross-check. Labels from your submission are matched against the traced geometry to confirm nothing was misread or skipped.
- Detail pass. Ceiling heights, staircases, and any irregular architectural features (bay windows, vaulted ceilings, mezzanines) are added based on your notes.
- Material and lighting setup. If a furnished or photorealistic render is requested, materials, furniture, and lighting are applied at this stage.
- Draft review. A preliminary render is sent back to you for approval before final high-resolution output is generated.
Because this entire chain depends on the accuracy of step one, any ambiguity in your original file cascades through every later stage. A missing dimension caught at step two can usually be resolved with a quick email; the same issue caught at step five often means redoing several hours of work.
Choosing the Right Submission Method

Beyond the file itself, how you send it affects the process too. Most studios accept files through a few common channels, and each has trade-offs worth knowing before your first submission.
- Email attachments. Convenient for small file sets, but large CAD packages or high-resolution scans can exceed inbox size limits and get silently rejected by mail servers.
- Cloud storage links (Google Drive, Dropbox, WeTransfer). Better suited for larger file bundles, multi-floor projects, or when you’re sending supporting material like site photos alongside the plan.
- Client upload portals. Many rendering studios, including ours, offer a dedicated intake form where you can attach files directly along with project notes, reducing the risk of details getting lost in a long email thread.
- Project management tools (Trello, Asana, Basecamp). Useful for ongoing multi-property engagements where several floor plans move through the pipeline at once and version control matters.
Whichever method you choose, resist the temptation to split one project across multiple emails or links sent hours apart. Studios typically begin work as soon as a submission looks complete, so a follow-up file arriving after production has started often means avoidable rework.
Preparing Files for Multi-Story or Complex Homes
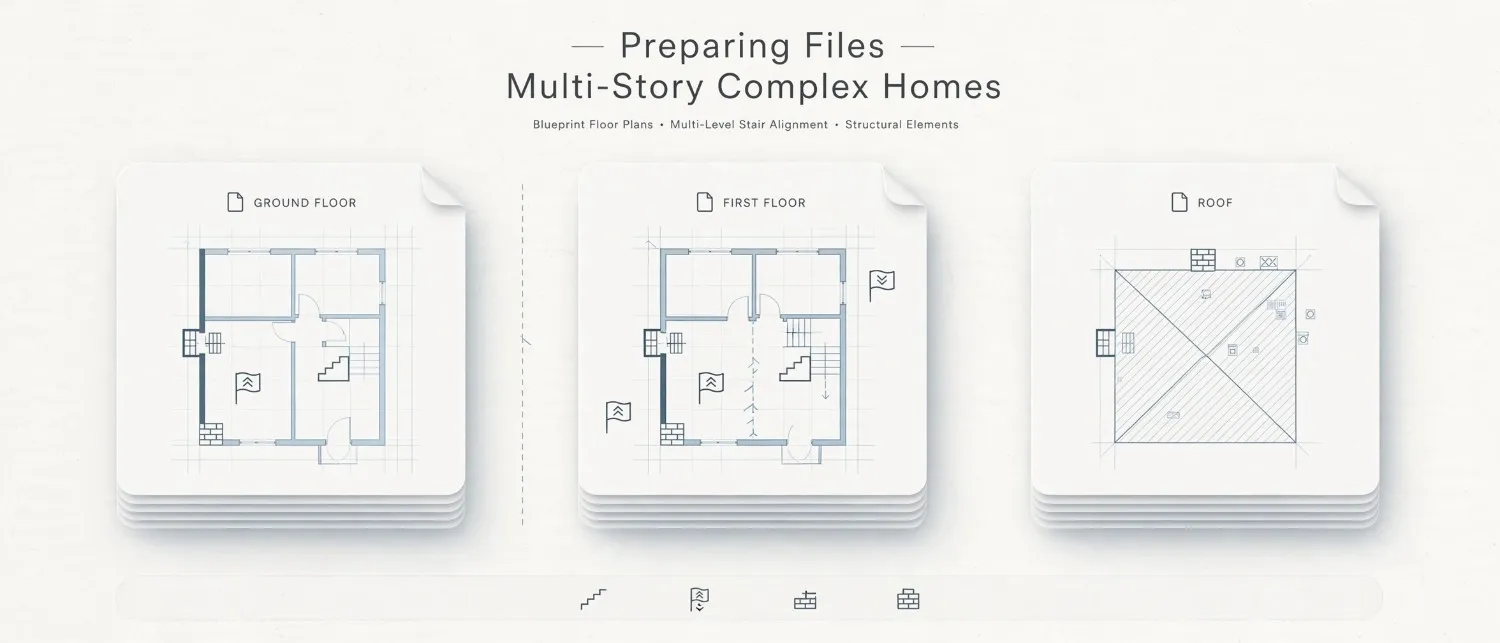
Single-story bungalows are the simplest case, but a large share of residential rendering projects involve multi-story homes, split levels, or additions with irregular layouts. A few extra preparation steps make a meaningful difference here.
- Submit each floor as a separate, clearly labeled file or page. Naming conventions like “Plan-Ground-Floor,” “Plan-First-Floor,” and “Plan-Roof” prevent levels from being confused during modeling.
- Indicate stair alignment across floors. Staircases need to line up structurally between levels, so a small note or dashed reference line showing where the stairwell falls on the floor above (or below) avoids awkward mismatches in the final 3D model.
- Flag double-height spaces. Great rooms, foyers, or lofts that span two floors should be marked explicitly, since a flat 2D plan alone won’t communicate that the ceiling above is open to the floor below.
- Note structural elements that carry through floors, such as load-bearing walls or chimneys, particularly if the render will later be used alongside construction documentation.
Special Considerations for Renovation and Remodel Projects

Renovation projects present a unique challenge: there is often no clean, up-to-date CAD file because the structure has changed since the original plans were drawn. In these cases, a slightly different preparation approach works best.
- Combine an old plan with updated field measurements. If an outdated CAD or PDF plan exists, use it as a base and clearly mark which walls, rooms, or additions have changed since it was drawn.
- Take dimensioned site photos. Photograph each room from at least two angles, and include a tape measure or reference object in at least one photo per room to help the artist judge scale.
- List “as-built” changes separately. A simple written list (for example, “kitchen wall moved 3 feet east,” “new bathroom added off the primary bedroom”) prevents the studio from rendering an outdated layout by mistake.
- Highlight finishes that must match reality. For renovation marketing renders, clients often care deeply about matching existing flooring, cabinetry, or trim, so reference photos of these finishes are especially valuable here.
What Happens If Your File Is Incomplete?
It’s worth knowing what actually happens on the studio side when a submission is missing information, since it demystifies why clarification requests happen and how to avoid them next time.

Typically, a project manager or lead artist reviews the incoming file before it’s assigned for modeling. If something critical is missing – an unlabeled room, an ambiguous scale, or a dimension that doesn’t match the rest of the plan – the studio will usually pause and send a short list of clarifying questions rather than guess. This is a good thing: guessing at this stage is exactly what produces renders that don’t match reality. However, every round of back-and-forth adds time to the schedule, so a thorough first submission is the single biggest lever you have over how quickly your render comes back.
Frequently Asked Questions
What is the best file format for 3D house floor plan rendering?
CAD files (DWG or DXF) are generally the best format for 3D house floor plan rendering because they retain exact scale and layer data, reducing the risk of proportion errors during modeling.
Can I submit a hand-drawn sketch for 3D floor plan rendering?
Yes, a hand-drawn sketch can be used for 3D floor plan rendering as long as measurements are clearly written on each wall and door swings and window placements are marked, though a clarification call is usually needed before production.
How do I know if my PDF floor plan is scaled correctly?
Measure a known reference element, such as a standard door (32-36 inches wide), against the PDF drawing; if the proportions match, the scale is likely accurate, and if not, the file should be re-scaled before submission.
What information should I include besides the floor plan file?
Along with the floor plan file, include room labels, ceiling height notes for irregular spaces, compass orientation, furniture placement (if a furnished render is wanted), and any reference photos for material or finish matching.
How long does it take to prepare files before rendering can start?
File preparation time varies: a clean CAD file may need no prep at all, a PDF might need 15-30 minutes of scale verification, and a sketch often requires a short clarification call, typically adding a day or two to the overall project timeline.
Quick Reference Checklist Before You Submit
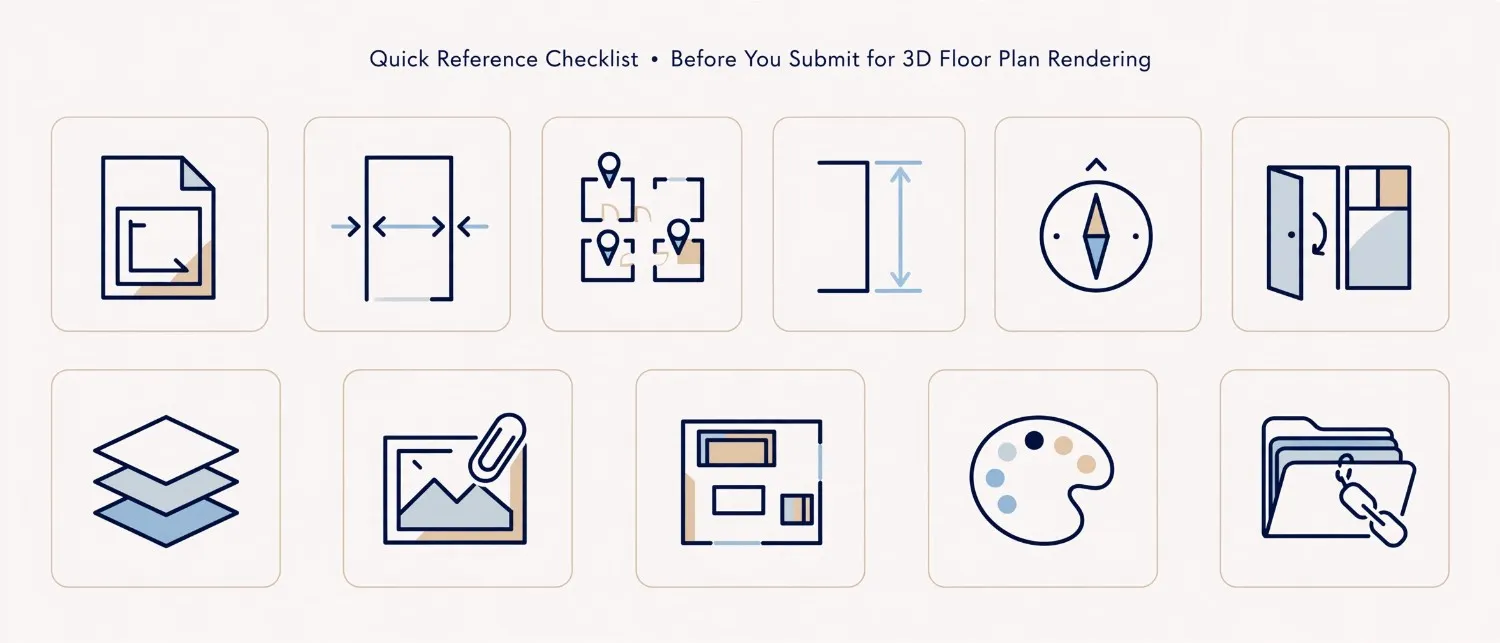
Use this checklist as a final pass before sending your files to a rendering studio:
- File exported in a universal format (DWG, DXF, or vector PDF)
- Scale clearly stated or verifiable against a known reference (like a standard door width)
- Every room labeled legibly
- Ceiling heights and irregular features (vaulted ceilings, lofts, mezzanines) flagged
- Compass orientation marked
- Door swing directions and window placements indicated
- Multi-floor plans clearly named and separated
- Reference photos attached for material or finish matching, if relevant
- Furniture layout included, if a furnished render is expected
- Render style preference specified (2D top-down, 3D isometric, or photorealistic)
- All files bundled in a single email, folder, or upload link
Running through this list takes only a few minutes but consistently prevents the majority of clarification requests that slow projects down. Teams that adopt this habit across multiple projects – such as builders managing several lot variations or agents handling a steady stream of listings – tend to see noticeably shorter turnaround times over their first three or four submissions, simply because the studio spends less time asking questions and more time modeling.
Conclusion
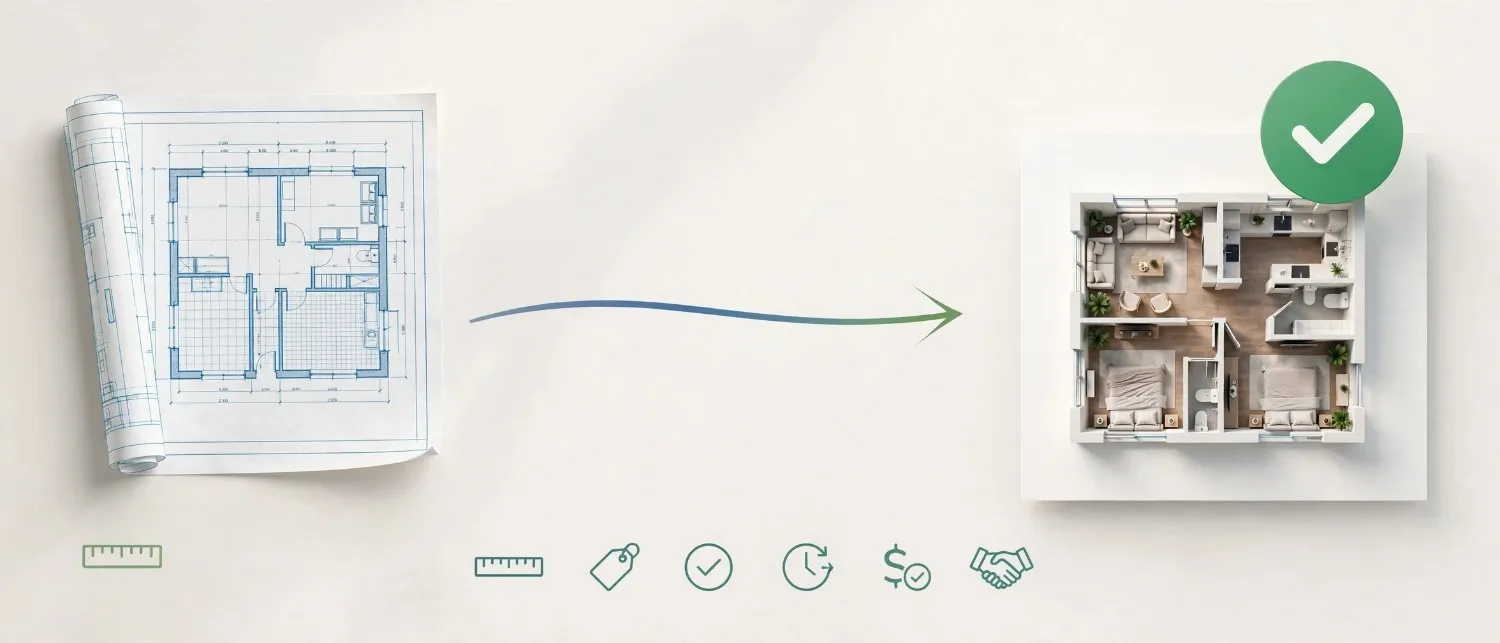
Getting your CAD, PDF, or sketch files render-ready isn’t complicated, but it does require attention to scale, labeling, and completeness before you hit send. A well-prepared file set shortens turnaround time, reduces revision rounds, and gives you a floor plan render that accurately reflects the space you’re marketing or building. and our team will guide you through the exact specs needed for your project type.
Request a free 3D Floor Plan Rendering Quote Today →
Pingback: 3D Floor Plan Rendering for Social Media Marketing